04.07.2010 Updated the code for the file “WebpartTabs.js” to fix an issue with grouped webparts being expanded by default. Thanks to Bullvan for noticing.
02.02.2010 Update to add possibility to set the tab titles in an array. Useful when viewing multiple views of the same list in a list view.
12.01.2010: Updated the function “getWPTitle” in the code for the file “WebpartTabs.js”.
11.01.2010: Updated the code to allow multiple instances in one page. Please read trough the article as the approach has changed from the code posted two days ago.
In this article i will describe a method for adding webparts in a webpart page as tabs somewhere in the page.
Christophe at PathToSharePoint has already made a solution like this, but i got a request for a method a bit different than his solution:
tecrms Says:
I really like your Tabs in SharePoint form you posted. Is there any chance that you might create a tab container that places webparts on the page into it? For maximum user could they be selected by webpart ID and not by the zone. This way more than one tab container could be placed anywhere are the page.
Alexander Says:
Hi,
Take a look at “Easy Tabs” from Christophe at PathToSharepoint.
No need to invent it again if his solution does what you want…
If this is not what you need, let me know and i will look at it.
Alexander
tecrms Says:
Christophe’s Easy Tabs is an excellent webpart but it grabs everything within a webpart zone. What would be nice is to allow the selection of which webparts are to be placed in the tabs from the webpart zone. This will give one more ability to have more than one “Eays Tab” type webpart within a webpart zone.
I decided to make my own solution:
- Multiple instances in one page.
- Optional arrays to specify which webpart’s to include and which to exclude from being “tabbed”.
- If there are no titles specified in the array’s, the code “consumes” all webparts rendered before the CEWP containing the script
- Preserves selected tab on page load – for filtering columns etc.
- Works in webpartpages and in list views
- …requests anyone?
Images:

As always we start like this:
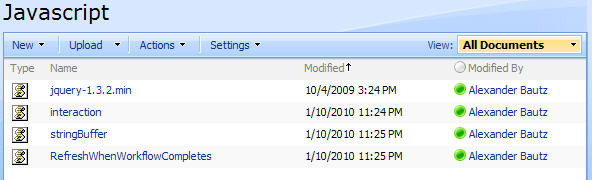
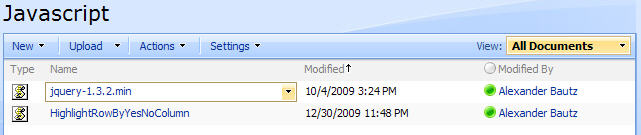
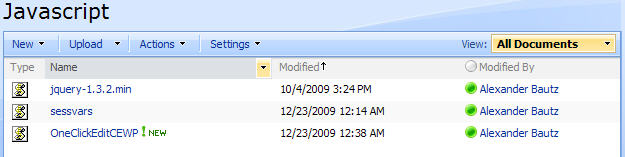
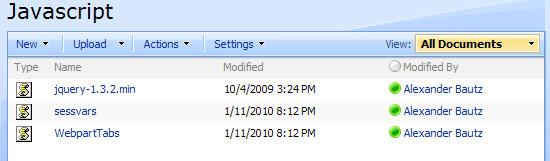
Create a document library to hold your scripts (or a folder on the root created in SharePoint Designer). In this example i have made a document library with a relative URL of “/test/English/Javascript” (a sub site named “test” with a sub site named “English” with a document library named “Javascript”):
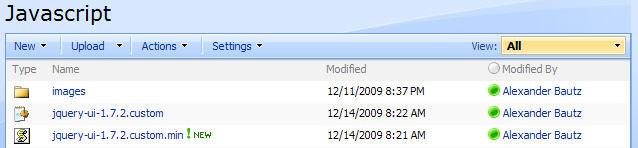
A folder named “jQueryUI” containing the scripts and the “images”-folder for the selected theme:
The jQuery-library is found here. The pictures and the sourcecode refers to jquery-1.3.2.min. If you download another version, be sure to update the script reference in the sourcecode.
The jQuery UI-library is found here. Find the theme of your choice – mine is “smootness” – and download the files (the only necessary files are “UI Core” and “Tabs”).
The file “sessvars.js” is found here.
The code for the file “WebpartTabs.js” is provided below.
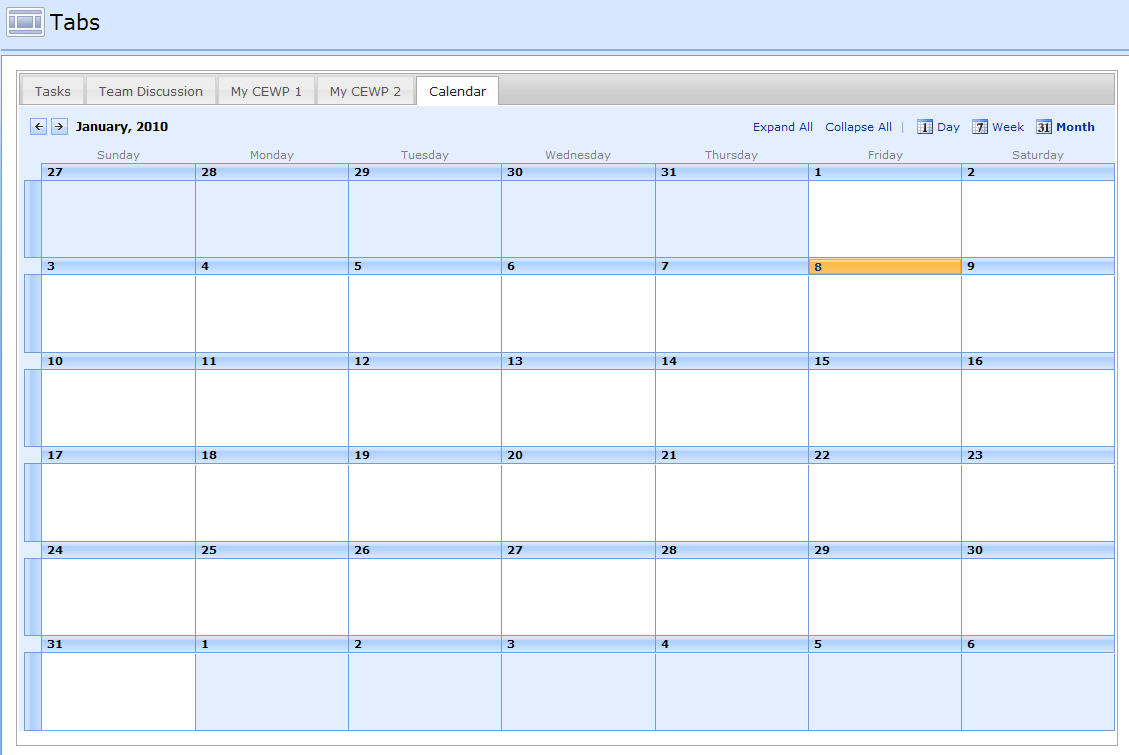
The way this script works is that you put a CEWP containing the code below the webparts you want to add to the tabs. If you want to add four webparts to the top of a webpart-page, you add the webparts from the top down, and places the CEWP with the script as webpart number five.
The code then (if the webparts has not been excluded) consumes all the webparts stacked above, and adds them as tabs in the order of appearance.
Add a CEWP below the webparts you want to “tab”, and insert this code
<link type="text/css" href="/test/English/Javascript/jQueryUI/jquery-ui-1.7.2.custom.css" rel="stylesheet" />
<script type="text/javascript" src="/test/English/Javascript/jquery-1.3.2.min.js"></script>
<script type="text/javascript" src="/test/English/Javascript/jQueryUI/jquery-ui-1.7.2.custom.min.js"></script>
<script type="text/javascript" src="/test/English/Javascript/sessvars.js"></script>
<script type="text/javascript" src="/test/English/Javascript/WebpartTabs.js"></script>
<script type="text/javascript">
// In a webpart-page: Specify whether to hide the title - it must be present initially to use as "tab title"
hideWPHeader = true;
// Specify webparts to exclude
arrOfTitlesToExclude = ['Announcements'];
// Specify webparts to include - if empty it consumes all webparts rendered before this CEWP
arrOfTitlesToInclude = [];
// Specify tab title - useful in a view of a list where webpart titles cannot be used
arrOfTabHeadings = [];
// Call the script with an unique identifier of the "tabs-collection"
initBuildTabs('one');
</script>
If you want another instance in the same page, modify the code like this (this webpart must be placed after the “primary” CEWP):
<script type="text/javascript">
// In a webpart-page: Specify whether to hide the title - it must be present initially to use as "tab title"
hideWPHeader = true;
// Specify webparts to exclude
arrOfTitlesToExclude = ['Announcements'];
// Specify webparts to include - if empty it consumes all webparts rendered before this CEWP
arrOfTitlesToInclude = [];
// Specify tab title - useful in a view of a list where webpart titles cannot be used
arrOfTabHeadings = [];
// Call the script with an unique identifier of the "tabs-collection"
initBuildTabs('two');
</script>
Parameters explained:
- hideWPHeader: If in a webpart-page – true – hides the webpart title
- arrOfTitlesToExclude: Array of webpart-titles to exclude from tabs
- arrOfTitlesToInclude: Array of webpart-titles to include in tabs. If left empty, it consumes all visible webparts rendered before this CEWP (that are not actively excluded)
- arrOfTabHeadings: Array of webpart titles. If this array contains a value for the current tabID, it is used in stead of the default title pulled from the webpart. To specify the title for tabID 2 you must set the array like this: [”,”,’This is the new title’]. Note that tabID 0 and 1 is not altered as the value for those are empty strings.
The code for the file “WebpartTabs.js” looks like this:
/* Add webparts to tabs
 * ---------------------------------------------
 * Created by Alexander Bautz
 * alexander.bautz@gmail.com
 * https://spjsblog.com
 * Copyright (c) 2010 Alexander Bautz (Licensed under the MIT X11 License)
 * v1.4
 * LastMod: 04.07.2010
 * ---------------------------------------------
 * Include reference to:
 *  jQuery - http://jquery.com
 *  jQuery UI - http://jqueryui.com
 *  sessvars.js - http://www.thomasfrank.se/sessionvars.html
 * ---------------------------------------------
 * See this blog post for instructions:
   Arrange webparts in tabs in webpart page
*/

function initBuildTabs(uniqueID){
	if(typeof(arrOfTitlesToExclude)=='undefined')arrOfTitlesToExclude = [];
	if(typeof(arrOfTitlesToInclude)=='undefined')arrOfTitlesToInclude = [];
	if(typeof(arrOfTabHeadings)=='undefined')arrOfTabHeadings = [];
	// Insert the tabs placeholder
	document.write("<div id='skipThisCEWP'></div><div style='padding:5px;width:100%' id='MyTabs_" + uniqueID + "'><ul></ul></div>");
	var myDiv = $("#MyTabs_"+uniqueID);
	// Code inactive in "edit page mode"
	if($(".ms-WPAddButton").length==0){
	var tabID = 0;
		// Loop trough all webparts on the page
		$(".ms-bodyareaframe td[id^='MSOZoneCell_WebPartWPQ']").each(function(){
			var thisWP = $(this);
			if(!thisWP.data('done')){
				thisWP.data('done',true)
				// Is it hidden or skipped?
				tabTitle = includeThisWP(thisWP,tabID);
				if(tabTitle!=false){
					// Hide the webpart title?
					if(hideWPHeader){
						thisWP.find(".ms-WPHeader").hide();
					}
					// Build the tabs
					myDiv.find('ul').append("<li><a href='#tabContent-" + uniqueID + tabID + "' onclick='preserveTab(" + tabID + ","" + uniqueID + "")'>" + tabTitle + "</a></li>");
					var wrappedDiv = $("<div id='tabContent-" + uniqueID + tabID+"'></div>");
						wrappedDiv.append(thisWP.find('table:first'));
						myDiv.append(wrappedDiv);
						tabID+=1;
					// Remove the empty placeholders to prevent them from taking up space
					if(thisWP.parents('table:first').find('tr').length>1){
						thisWP.parents('tr:first').remove();
					}else{
						thisWP.parents('table:first').remove();
					}
				}
			}
		});
		// Make tabs
		myDiv.tabs();
		// Fix CSS
		$(".ui-tabs-panel").css({'padding':'0px','text-align':'left','margin':'0 auto'});
		// Select the active tab on page reload
		if(sessvars[uniqueID]!='undefined'){
			myDiv.tabs('select', sessvars[uniqueID]);
		}
	}else{
		document.write("<div style='height:75px;background-color:#FFCC11;text-align:center;font-size:16px;padding-top:30px'>This is the Tabs CEWP</div>");
	}
}

function includeThisWP(obj,tID){
// Is it skipped or hidden?
	if(obj.find("#skipThisCEWP").length>0 || obj.find('table:first').css('display')=='none'){
		return false;
	}
	if(arrOfTabHeadings[tID]!=undefined && arrOfTabHeadings[tID]!=''){
		wpT = arrOfTabHeadings[tID];
	}else{
		wpT = getWPTitle(obj);
	}
	// Is it excluded
	if($.inArray(wpT,arrOfTitlesToExclude)>-1){
		return false;
	}else if(arrOfTitlesToInclude=='' || $.inArray(wpT,arrOfTitlesToInclude)>-1){
		return wpT;
	}else{
		return false;
	}
}

function getWPTitle(obj){
	// Lists and librarys
	if(obj.html().match(/ctx.ListTitle = "(.+)"/)!=null){
		var tRaw = obj.html().match(/ctx.ListTitle = "(.+)"/)[1];
		return unescape(tRaw.replace(/\u/g,'%u'))
	}
	// Other webparts
	if(obj.find(".ms-WPHeader h3").length>0){
		return obj.find(".ms-WPHeader h3").text();
	}else{
		return "<span title='Webpart title must be visible under "Chrome Type" in webpart settings.' style='color:red'>No title</span>";
	}
}

// Used to preserve the current tab when page loads (column filtering etc.)
function preserveTab(tabID,parentID){
	sessvars[parentID]=tabID;
}
Save as “WebpartTabs.js” – mind the file extension, and upload to the scriptlibrary as shown above.
This script may need a bit more testing so please let me know if you have some comments or finds a bug.
Regards
Alexander
Like this:
Like Loading...