Note:
I’m far away from my safe “pure JavaScript” world here – if someone have any comments on this approach i will gladly listen!
In this article I will give an example of how to send e-mail (with CC, Bcc and HTML body) from SharePoint with JavaScript and the help of some server-side files (two variants of the aspx-page and a code-behind .cs file placed in the Layouts directory of your 12′ hive). This approach requires server access for placing the files.
I will first show you how to create a simple “contact-form”, secondly i will show you how to send the contents of a DispForm as a HTML-bodied email (in a follow-up post).
The method used passes the variables collected with javascript to the server-side file “SendMailBySessvars.aspx” or “SendMailNewWindow.aspx”. This page uses javascript to populate some hidden controls. The hidden controls is used to pass the variables to the server-side code as javascript cannot pass it’s variables directly. When the controls are populated, the server-side code is called to do the actual sending of the e-mail.
I will provide two options for sending the email:
- The current page redirects to the “SendMailBySessvars.aspx” – sends the email and redirects back.
- A new window is opened – the email is sent – and the window is closed.
The server-side files
In your SharePoint server – add these files to your 12’hive (C:Program FilesCommon FilesMicrosoft Sharedweb server extensions12TEMPLATELAYOUTSSendMailWithJavascript)
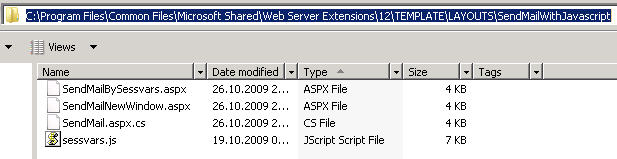
The sourcecode for the files “SendMailBySessvars.aspx”, “SendMailNewWindow.aspx” and “SendMail.aspx.cs” is provided below. The file “sessvars.js” is found here.
SourceCode for “SendMailBySessvars.aspx” – used for sending mail in the current window
<%@ Page Language="C#" AutoEventWireup="true" CodeFile="SendMail.aspx.cs" Inherits="Enquiry" %>
<!DOCTYPE html PUBLIC "-//W3C//DTD XHTML 1.0 Transitional//EN" "http://www.w3.org/TR/xhtml1/DTD/xhtml1-transitional.dtd">
<html xmlns="http://www.w3.org/1999/xhtml" >
<head runat="server">
<style>
.mailStatusMsg
{
	color:#666666;
	font-size:large;
	border:5px gray double;
	text-align:center;
}

</style>
<title>Send Mail</title>
</head>
<body>

<form id="formSendMail" runat="server">
	<div style="display:none">
		<asp:HiddenField ID="txtSMTP" runat="server"></asp:HiddenField>
		<asp:HiddenField ID="txtSMTP_Port" runat="server"></asp:HiddenField>
		<asp:HiddenField ID="txtEmailSubject" runat="server"></asp:HiddenField>
		<asp:HiddenField ID="txtHtmlBody" runat="server"></asp:HiddenField>
		<asp:HiddenField ID="txtFromEmail" runat="server"></asp:HiddenField>
		<asp:HiddenField ID="txtToEmail" runat="server"></asp:HiddenField>
		<asp:HiddenField ID="txtCCEmail" runat="server"></asp:HiddenField>
		<asp:HiddenField ID="txtBccEmail" runat="server"></asp:HiddenField>
		<asp:HiddenField ID="txtNewWindow" runat="server"></asp:HiddenField>
		<asp:HiddenField ID="txtShowSplash" runat="server"></asp:HiddenField>
		<asp:HiddenField ID="txtRedirUrl" runat="server"></asp:HiddenField>
		<asp:HiddenField ID="txtTimer" runat="server"></asp:HiddenField>
		<asp:HiddenField ID="txtSuccessMsg" runat="server"></asp:HiddenField>
		<asp:HiddenField ID="txtErrorMsg" runat="server"></asp:HiddenField>
		<asp:Button ID="btnSubmit" runat="server" Text="Submit" OnClick="btnSubmit_Click"/>
	</div>
</form>

<script type="text/javascript" src="sessvars.js"></script>
<script type="text/javascript">

if(sessvars.emailBySessvars!=undefined){
	if("<%=SendFunctionTriggered%>" != 1){
		document.getElementById('txtSMTP').value=sessvars.emailBySessvars.SMTP;
		document.getElementById('txtSMTP_Port').value=sessvars.emailBySessvars.SMTP_Port;
		document.getElementById('txtEmailSubject').value=sessvars.emailBySessvars.EmailSubject;
		document.getElementById('txtHtmlBody').value=sessvars.emailBySessvars.htmlBody;
		document.getElementById('txtFromEmail').value=sessvars.emailBySessvars.fromEmail;
		document.getElementById('txtToEmail').value=sessvars.emailBySessvars.toEmail;
		document.getElementById('txtCCEmail').value=sessvars.emailBySessvars.ccEmail;
		document.getElementById('txtBccEmail').value=sessvars.emailBySessvars.BccEmail;
		document.getElementById('txtNewWindow').value="0";
		document.getElementById('txtShowSplash').value=sessvars.emailBySessvars.ShowSplash;
		document.getElementById('txtRedirUrl').value=sessvars.emailBySessvars.RedirUrl;
		document.getElementById('txtTimer').value=sessvars.emailBySessvars.RedirTimer;
		document.getElementById('txtSuccessMsg').value=sessvars.emailBySessvars.SuccessMsg;
		document.getElementById('txtErrorMsg').value=sessvars.emailBySessvars.ErrorMsg;

		// Clear sessvars
		sessvars.$.clearMem();
		//if(confirm("Sessvars - send mail?")){
			document.getElementById('btnSubmit').click();
		//}
	}
}
</script>
</body>
</html>
SourceCode for “SendMailNewWindow.aspx” – used for sending mail in new window
<%@ Page Language="C#" AutoEventWireup="true" CodeFile="SendMail.aspx.cs" Inherits="Enquiry" %>
<!DOCTYPE html PUBLIC "-//W3C//DTD XHTML 1.0 Transitional//EN" "http://www.w3.org/TR/xhtml1/DTD/xhtml1-transitional.dtd">
<html xmlns="http://www.w3.org/1999/xhtml" >
<head runat="server">
<style>
.mailStatusMsg
{
	color:#666666;
	font-size:large;
	border:5px gray double;
	text-align:center;
}

</style>
<title>Send Mail</title>
</head>
<body>

<form id="formSendMail" runat="server">
	<div style="display:none">
		<asp:HiddenField ID="txtSMTP" runat="server"></asp:HiddenField>
		<asp:HiddenField ID="txtSMTP_Port" runat="server"></asp:HiddenField>
		<asp:HiddenField ID="txtEmailSubject" runat="server"></asp:HiddenField>
		<asp:HiddenField ID="txtHtmlBody" runat="server"></asp:HiddenField>
		<asp:HiddenField ID="txtFromEmail" runat="server"></asp:HiddenField>
		<asp:HiddenField ID="txtToEmail" runat="server"></asp:HiddenField>
		<asp:HiddenField ID="txtCCEmail" runat="server"></asp:HiddenField>
		<asp:HiddenField ID="txtBccEmail" runat="server"></asp:HiddenField>
		<asp:HiddenField ID="txtNewWindow" runat="server"></asp:HiddenField>
		<asp:HiddenField ID="txtShowSplash" runat="server"></asp:HiddenField>
		<asp:HiddenField ID="txtRedirUrl" runat="server"></asp:HiddenField>
		<asp:HiddenField ID="txtTimer" runat="server"></asp:HiddenField>
		<asp:HiddenField ID="txtSuccessMsg" runat="server"></asp:HiddenField>
		<asp:HiddenField ID="txtErrorMsg" runat="server"></asp:HiddenField>
		<asp:Button ID="btnSubmit" runat="server" Text="Submit" OnClick="btnSubmit_Click"/>
	</div>
</form>

<script type="text/javascript" src="sessvars.js"></script>
<script type="text/javascript">


if(window.opener!=undefined){
	if(window.opener.openInNewWindowAndEmail!=undefined){
		if("<%=SendFunctionTriggered%>" != 1){
			document.getElementById('txtSMTP').value=window.opener.openInNewWindowAndEmail.SMTP;
			document.getElementById('txtSMTP_Port').value=window.opener.openInNewWindowAndEmail.SMTP_Port;
			document.getElementById('txtEmailSubject').value=window.opener.openInNewWindowAndEmail.EmailSubject;
			document.getElementById('txtHtmlBody').value=window.opener.openInNewWindowAndEmail.htmlBody;
			document.getElementById('txtFromEmail').value=window.opener.openInNewWindowAndEmail.fromEmail;
			document.getElementById('txtToEmail').value=window.opener.openInNewWindowAndEmail.toEmail;
			document.getElementById('txtCCEmail').value=window.opener.openInNewWindowAndEmail.ccEmail;
			document.getElementById('txtBccEmail').value=window.opener.openInNewWindowAndEmail.BccEmail;
			document.getElementById('txtNewWindow').value="1";
			document.getElementById('txtShowSplash').value=window.opener.openInNewWindowAndEmail.ShowSplash;
			document.getElementById('txtTimer').value=window.opener.openInNewWindowAndEmail.CloseWindowTimer;
			document.getElementById('txtSuccessMsg').value=window.opener.openInNewWindowAndEmail.SuccessMsg;
			document.getElementById('txtErrorMsg').value=window.opener.openInNewWindowAndEmail.ErrorMsg;

			//if(confirm("Window.opener - send mail?")){
				document.getElementById('btnSubmit').click();
			//}
		}else if("<%=SendFunctionTriggered%>" == 1){
			if(window.opener.openInNewWindowAndEmail.ShowSplash=="1"){
				var showSplashTime = "<%=redirTimer%>" * 1000; // Milliseconds
				setTimeout("self.close()", showSplashTime);
			}else if(window.opener.openInNewWindowAndEmail.ShowSplash=="0"){
				self.close();
			}
		}
	}
}
</script>
</body>
</html>
SourceCode for SendMail.aspx.cs
using System;
using System.Data;
using System.Configuration;
using System.Collections;
using System.Web;
using System.Web.Security;
using System.Web.UI;
using System.Web.UI.WebControls;
using System.Web.UI.WebControls.WebParts;
using System.Web.UI.HtmlControls;
using System.Net.Mail;
public partial class Enquiry : System.Web.UI.Page
{
public string SendFunctionTriggered = string.Empty;
public string UrlStatusFlagPrefix = string.Empty;
public string EmailSendStatus = string.Empty;
public int redirTimer = 0;
protected void Page_Load(object sender, EventArgs e)
{
// Do nothing
}
protected void btnSubmit_Click(object sender, EventArgs e)
{
SendFunctionTriggered = "1";
SendMail(txtToEmail.Value, txtFromEmail.Value, txtCCEmail.Value, txtBccEmail.Value, txtEmailSubject.Value, txtHtmlBody.Value);
if (txtRedirUrl.Value.IndexOf("?") > 0)
{
UrlStatusFlagPrefix = "&";
}
else
{
UrlStatusFlagPrefix = "?";
}
if (msg == "Successful")
{
EmailSendStatus = UrlStatusFlagPrefix + "Email=Success";
}
else
{
EmailSendStatus = UrlStatusFlagPrefix + "Email=Failure";
}
if (txtNewWindow.Value == "1") // Open new window to handle send mail operation
{
if (txtShowSplash.Value == "1")
{
statusMsgDisplay();
}
}
else // Handle send mail operation in current window
{
if (txtShowSplash.Value == "1")
{
// Show status msg
statusMsgDisplay();
}
else
{
Response.Redirect(txtRedirUrl.Value + EmailSendStatus);
}
}
}
public void statusMsgDisplay()
{
redirTimer = Convert.ToInt32(txtTimer.Value);
string newString = string.Empty;
if (msg == "Successful")
{
newString = txtSuccessMsg.Value.Replace("{0}", Convert.ToString(redirTimer));
Response.Write(newString);
if (txtNewWindow.Value != "1")
{
Response.Write("<Meta http-equiv=’REFRESH’ content=’" + redirTimer + ";URL=" + txtRedirUrl.Value + EmailSendStatus + "’/>");
}
}
else
{
redirTimer = redirTimer + 3;
newString = txtErrorMsg.Value.Replace("{0}", Convert.ToString(redirTimer));
newString = newString.Replace("{1}",msg);
Response.Write(newString);
if (txtNewWindow.Value != "1")
{
Response.Write("<Meta http-equiv=’REFRESH’ content=’" + redirTimer + ";URL=" + txtRedirUrl.Value + EmailSendStatus + "’/>");
}
}
}
public string msg = string.Empty;
public string SendMail(string toList, string from, string ccList, string bccList, string subject, string body)
{
MailMessage message = new MailMessage();
SmtpClient smtpClient = new SmtpClient();
try
{
MailAddress fromAddress = new MailAddress(from);
message.From = fromAddress;
message.To.Add(toList);
if(ccList != null && ccList != string.Empty)
message.CC.Add(ccList);
if(bccList != null && bccList != string.Empty)
message.Bcc.Add(bccList);
message.Subject = subject;
message.IsBodyHtml = true;
message.Body = body;
smtpClient.Host = txtSMTP.Value;
smtpClient.Port = Convert.ToInt32(txtSMTP_Port.Value);
smtpClient.UseDefaultCredentials = true;
smtpClient.Send(message);
msg = "Successful";
}
catch (Exception ex)
{
msg = ex.Message;
}
return msg;
}
}
[/javascript]
Simple Contact form

As always we start like this:
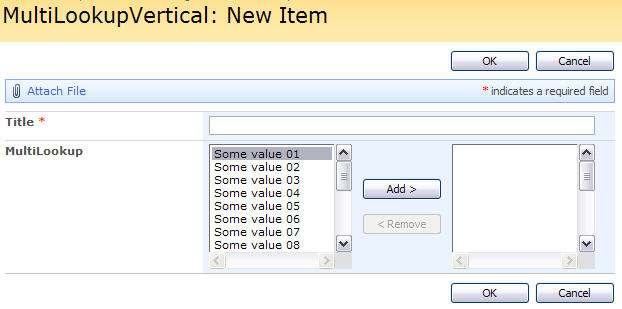
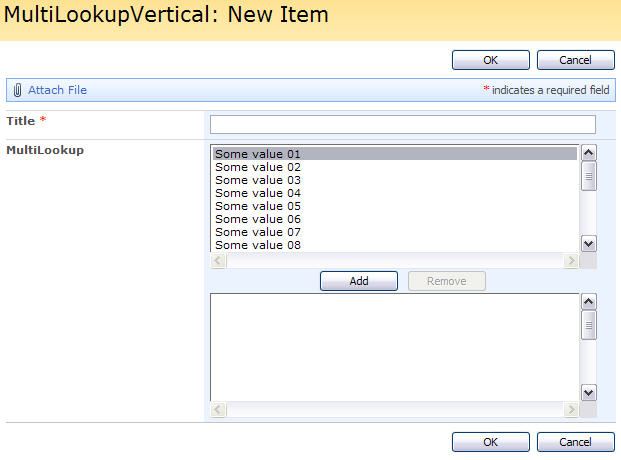
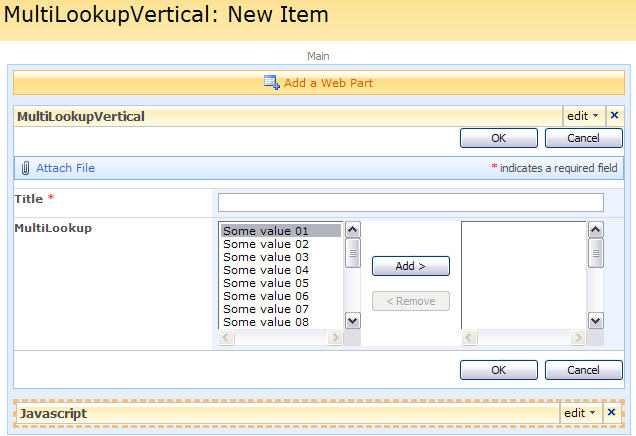
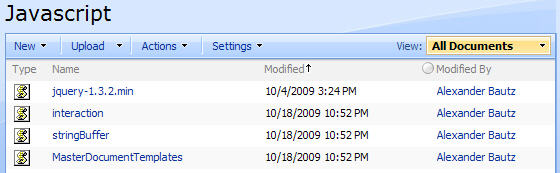
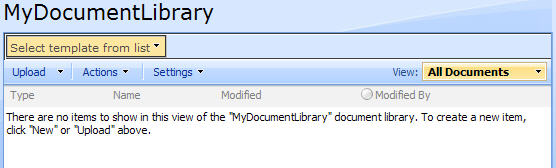
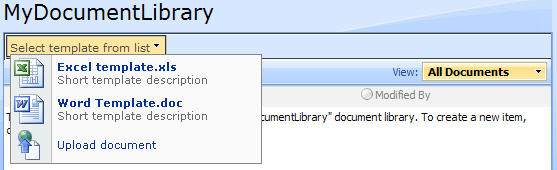
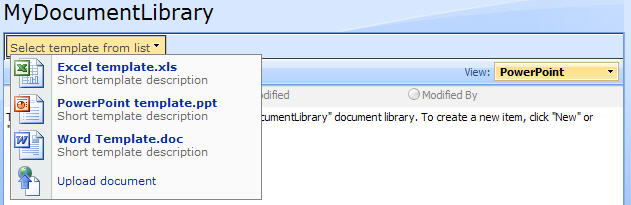
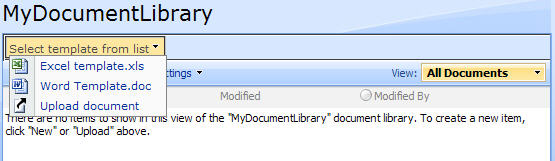
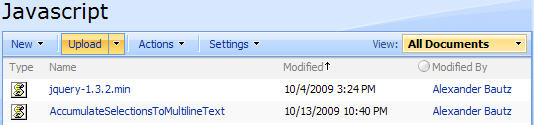
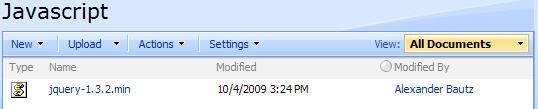
Create a document library to hold your scripts (or a folder on the root created in SharePoint Designer). In this example i have made a document library with a relative URL of “/test/English/Javascript” (a sub site named “test” with a sub site named “English” with a document library named “Javascript”):
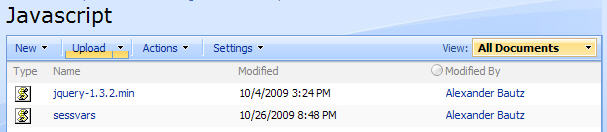
The jQuery-library is found here. The pictures and the sourcecode refers to jquery-1.3.2.min. If you download another version, be sure to update the script reference in the sourcecode.
The file “sessvars.js” is found here.
Sourcecode for the contact form:
<button id="showContactForm" onclick="javascript:toggleContactForm();">Contact me</button>
<div id="contactForm" style="display:none">
<table style="width: 500px" cellpadding="4" cellspacing="0">
<tr>
<td valign="top" style="width:100px">Your name<span class="ms-formvalidation"> *</span></td>
<td valign="top"><input id="customInputName" type="text" style="width: 300px" /></td>
</tr>
<tr>
<td valign="top" style="width:100px">Your email<span class="ms-formvalidation"> *</span></td>
<td valign="top"><input id="customInputEmail" type="text" style="width: 300px" /></td>
</tr>
<tr>
<td valign="top" style="width:100px">Message<span class="ms-formvalidation"> *</span></td>
<td valign="top"><textarea id="customInputMessage" rows="10" style="width: 100%"></textarea></td>
</tr>
<tr>
<td colspan="2" align="right">
<button onclick="javascript:emailBySessvars()">Sessvars Send Email</button>&nbsp;
<button onclick="javascript:openInNewAndEmail()">New Window Send Email</button>&nbsp;
<button onclick="javascript:toggleContactForm();">Cancel</button></td>
</tr>
</table>
</div>
<script type="text/javascript" src="/test/English/Javascript/jquery-1.3.2.min.js"></script>
<script type="text/javascript" src="/test/English/Javascript/sessvars.js"></script>
<script type="text/javascript">
function toggleContactForm(){
$('#contactForm').find(":input:not(button)").each(function(){
$(this).val('');
});
$('#showContactForm').toggle();
$('#contactForm').toggle();
}
function preSendCheck(){
var arrTovalidate = ['customInputName','customInputEmail','customInputMessage'];
$("div.ms-formvalidation").remove();
var preCheckOK = true;
$.each(arrTovalidate,function(){
var field = $("#" + this);
if(field.val()==''){
preCheckOK = false;
field.parent().append("<div class='ms-formvalidation'>You must specify a value for this required field.</div>")
}
});
return preCheckOK ;
}
function emailBySessvars(){ // Current window redirect
var sendOK = preSendCheck();
if(sendOK ){
var name = $("#customInputName").val();
var email = $("#customInputEmail").val();
var message = $("#customInputMessage").val();
sessvars.emailBySessvars = {
"SMTP":"insert your SMTP here",
"SMTP_Port":"25",
"fromEmail":email,
"toEmail":"insert the address to send the mail to here",
"ccEmail":"",
"BccEmail":"",
"EmailSubject":"Contact form by Sessvars",
"htmlBody":"Name: <br>" + name + "<br>Message:<br>" + message,
"ShowSplash":"1",
"RedirUrl":"/test/English/Javascript/SendMailWithJavascript.aspx",
"RedirTimer":"1",
"SuccessMsg":"<div class='mailStatusMsg'>E-mail successfully sendt<div style='font-size:small'>Redirecting in {0} seconds</div></div>",
"ErrorMsg":"<div class='mailStatusMsg'>Error sending message<div style='font-size:small'>{1}<br>Redirecting in {0} seconds</div></div>"
};
window.location.href='/_layouts/SendMailWithJavascript/SendMailBySessvars.aspx';
}
}
function openInNewAndEmail(){ // New window
var sendOK = preSendCheck();
if(sendOK){
var name = $("#customInputName").val();
var email = $("#customInputEmail").val();
var message = $("#customInputMessage").val();
openInNewWindowAndEmail = {
"SMTP":"insert your SMTP here",
"SMTP_Port":"25",
"fromEmail":email,
"toEmail":"insert the address to send the mail to here",
"ccEmail":"",
"BccEmail":"",
"EmailSubject":"Contact form by Window.opener",
"htmlBody":"Name: <br>" + name + "<br>Message:<br>" + message,
"ShowSplash":"1",
"CloseWindowTimer":"1",
"SuccessMsg":"<div class='mailStatusMsg'>E-mail successfully sendt<div style='font-size:small'>Closing this window in {0} seconds</div></div>",
"ErrorMsg":"<div class='mailStatusMsg'>Error sending message<div style='font-size:small'>{1}<br>Closing in {0} seconds</div></div>"
};
newwindow=window.open('/_layouts/SendMailWithJavascript/SendMailNewWindow.aspx',
'SendMail','location=no,menubar=no,resizable=no,scrollbars=no,titlebar=no,toolbar=no,width=300,height=125');
toggleContactForm();
}
}
</script>
In the code for the contact form you have to insert your SMTP-server and the “toEmail”. This example form provides buttons for both methods of sending mail.
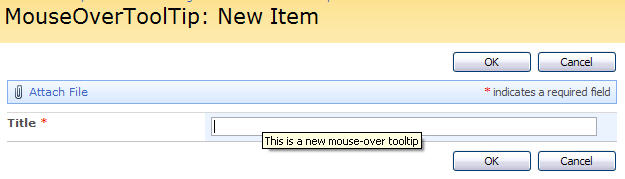
When sending the email you are presented with a “splash-screen” like this when using “sessvars.js” and redirect in the same page:

When using the sessvars.js redirect, you also get a “receipt” in the URL:

And like this when opening in a new window:
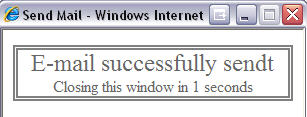
These “receipts” are based on the “SuccessMsg” and “ErrorMsg” specified in the contact form. The “placeholder” {0} and {1} in the message text are replaced with the time to close/redirect, and for “ErrorMsg” also the actual error from the “sendmail-code”.
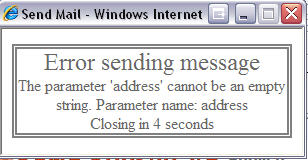
In case of an error – the splash screen is displayed for 3 seconds longer than specified.
I will follow up this one with an example on how to send the contents of a DispForm as a HTML-bodied email, but all that is to it is to loose the “contact-form-message-field” and define the “htmlBody” in the “contact-form-code” to hold the HTML-content you want to send.
I am open for questions – and as i noted above: this one is outside my comfort zone and i appreciate feedback on the selected method and tips on how to make it better.
Regards
Alexander