19.11.2009 Fixed the bugs from yesterday…
18.11.2009 Added support for grouped views.
17.11.2009 Updated code to remove the filter in the viewheader for the field with the calculated column “Link”. Noted by Paulo Sousa in the post comments. I have also added a code to use for the DispForm to format the link.
If you create a link from a calculated column it is not formatted right in the list view. Here it a small jQuery script to fix this issue.
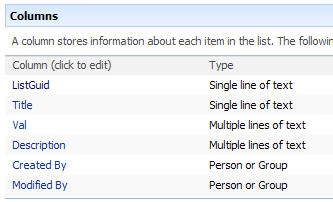
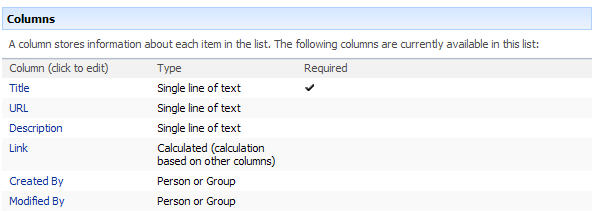
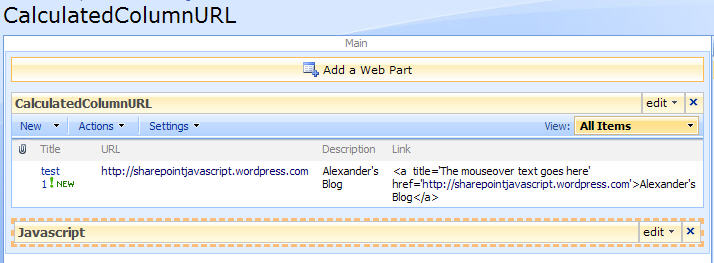
The list has these columns:
The code in the calculated column “Link” looks like this:
="<a title='The mouseover text goes here' href='"&URL&"'>"&Description&"</a>"
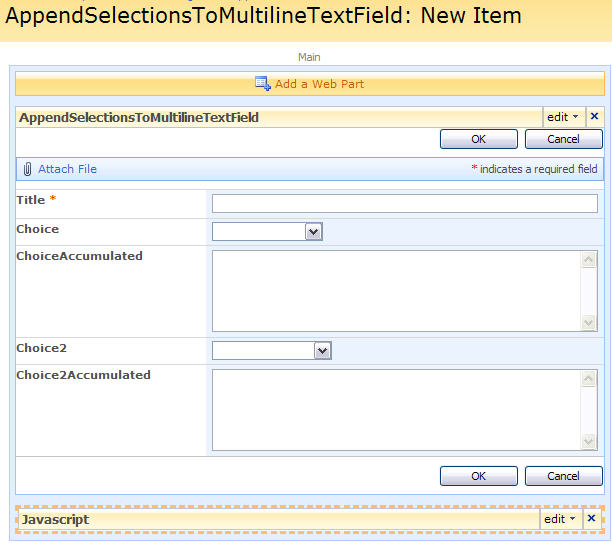
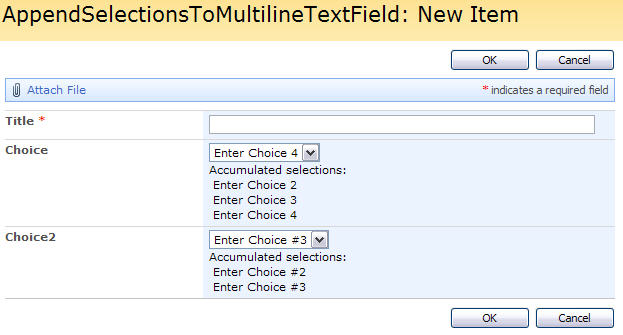
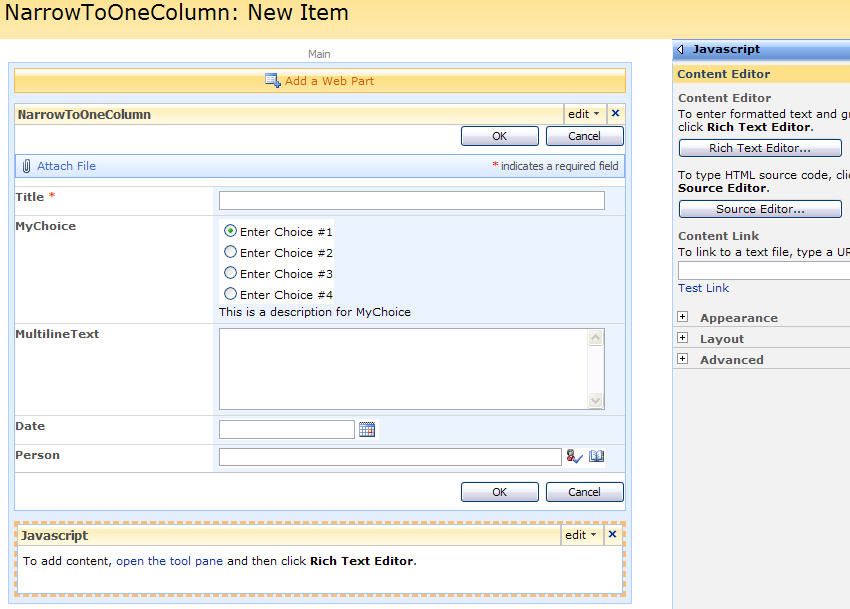
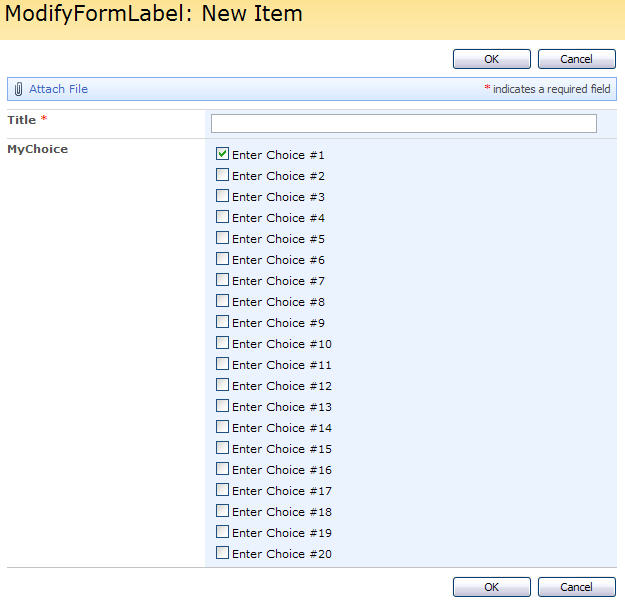
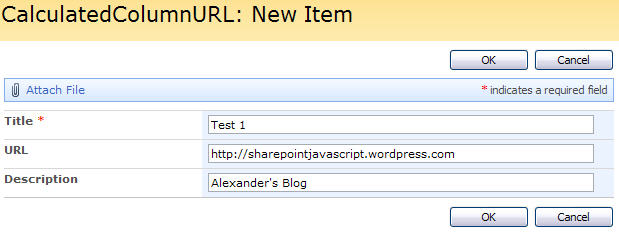
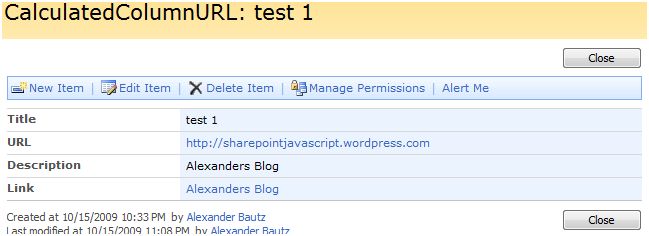
The NewForm looks like this:
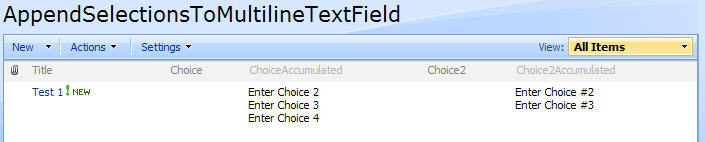
The list view looks like this before the script is added:

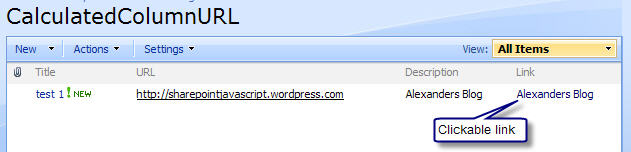
And like this after the script is added:
How is it done?
As always we start like this:
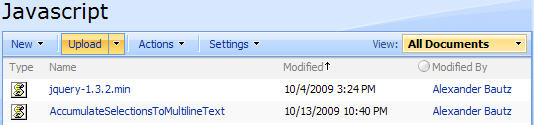
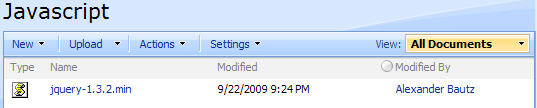
Create a document library to hold your scripts (or a folder on the root created in SharePoint Designer). In this example i have made a document library with a relative URL of “/test/English/Javascript” (a sub site named “test” with a sub site named “English” with a document library named “Javascript”):
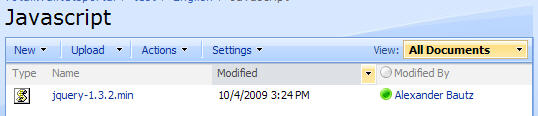
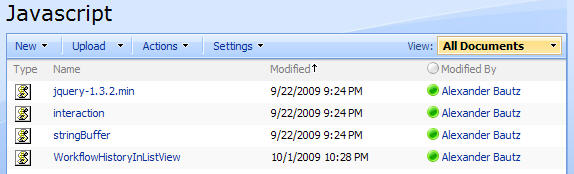
The jQuery-library is found here. The pictures and the sourcecode refers to jquery-1.3.2.min. If you download another version, be sure to update the script reference in the sourcecode.
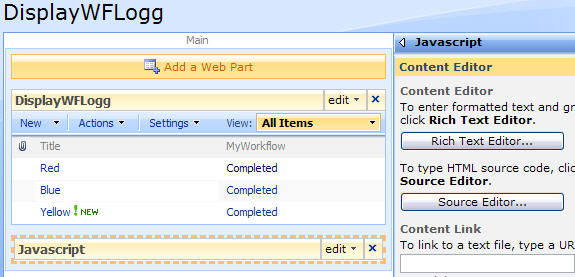
Add a CEWP below the list view like this:
With this code:
<script type="text/javascript" src="/test/English/Javascript/jquery-1.3.2.min.js"></script>
<script type="text/javascript">
// Updated 19.11.2009
// Reformat the url in the calculated column
reformatCalculatedColumnUrl();
function reformatCalculatedColumnUrl(){
$(".ms-listviewtable td.ms-vb2:contains('href')").each(function(){
$(this).html($(this).text())
});
}
// If grouped by the calculated column - reformat the group header
var groupHeaderClickableLink = true; // Set to false to remove the link on the groupheader
$(".ms-listviewtable td[class^='ms-gb']").each(function(){
if($(this).html().indexOf('&lt;')>0){
// Get full HTML of group header
var rawHTML = $(this).html();
// Extract the part before the calculated column's content
var preWrap = rawHTML.substring(0,rawHTML.indexOf("&lt;"));
// Extract the part after the calculated column's content
var postWrap = rawHTML.substring(rawHTML.lastIndexOf('&gt;')+4);
if(!groupHeaderClickableLink){
// Find the clickable part of the calculated column's content
var linkTextStart = rawHTML.indexOf('&gt;') + 4;
var linkTextStop = rawHTML.lastIndexOf('&lt;');
var linkText = rawHTML.substring(linkTextStart,linkTextStop);
// Write back the HTML
$(this).html(preWrap + linkText + postWrap);
}else{
// Find the clickable part of the calculated column's content
var linkStart = rawHTML.indexOf('&lt;');
var linkStop = rawHTML.lastIndexOf('&gt;') + 4;
// Find raw link
var rawLink = rawHTML.substring(linkStart,linkStop);
// Find the parts to keep
var pre = rawLink.substring(0,rawLink.indexOf('href=') + 6);
var mid = rawLink.substring(rawLink.lastIndexOf('href=')+6,rawLink.indexOf('>')-1);
var post = rawLink.substring(rawLink.indexOf('&gt;')-1);
// Get the full url and replace the &lt; and &gt;
var fullUrl = (pre + mid + post).replace(/&lt;/g,'<').replace(/&gt;/g,'>');
// Write back the HTML
$(this).html(preWrap + fullUrl + postWrap);
}
}
});
// Disable the filter for the field named "Link"
$(".ms-viewheadertr table[displayname='Link']").parents('th:first').removeClass('ms-vh2').addClass('ms-vh2-nograd').html("Link");
// Attaches a call to the function "reformatCalculatedColumnUrl" to the "expand grouped elements function" for it to function in grouped listview's
function ExpGroupRenderData(htmlToRender, groupName, isLoaded){
var tbody=document.getElementById("tbod"+groupName+"_");
var wrapDiv=document.createElement("DIV");
wrapDiv.innerHTML="<TABLE><TBODY id="tbod"+groupName+"_" isLoaded=""+isLoaded+"">"+htmlToRender+"</TBODY></TABLE>";
tbody.parentNode.replaceChild(wrapDiv.firstChild.firstChild,tbody);
reformatCalculatedColumnUrl();
}
</script>
The “group by calculated column – feature” is requested by Paulo Sousa. You can specify whether to have a clickable link or a plain text in the group header by setting the parameter “groupHeaderClickableLink” in line 14 to true or false.
In line 50 in this codeblock i have disabled the filter link in the view header for the field with DisplayName “Link” – you must insert your own field’s DisplayName here.
I do not know of a way to “reformat” the filter values for a calculated column, and therefore the filter values will be like the calculated column’s raw value – therefore i found that disabling the filter was he best option.
For use with DispForm – add code to CEWP below list form (edit the location of jquery as needed):
<script type="text/javascript" src="/test/English/Javascript/jquery-1.3.2.min.js"></script>
<script type="text/javascript">
fields = init_fields();

// This is an array of FieldInternalNames for all fields to reformat
var arrOfFieldsToReformat = ['Link'];
// Loop trough all fields in array and reformat to decent link
$.each(arrOfFieldsToReformat,function(idx,item){
	var LinkField = $(fields[item]).find('.ms-formbody');
	LinkField.html(LinkField.text());
});

function init_fields(){
var res = {};
$("td.ms-formbody").each(function(){
if($(this).html().indexOf('FieldInternalName="')<0) return;
var start = $(this).html().indexOf('FieldInternalName="')+19;
var stopp = $(this).html().indexOf('FieldType="')-7;
var nm = $(this).html().substring(start,stopp);
res[nm] = this.parentNode;
});
return res;
}
</script>
In line 6 you must insert your own FieldInternalNames!
You can add multiple FieldInternalNames, comma separated.
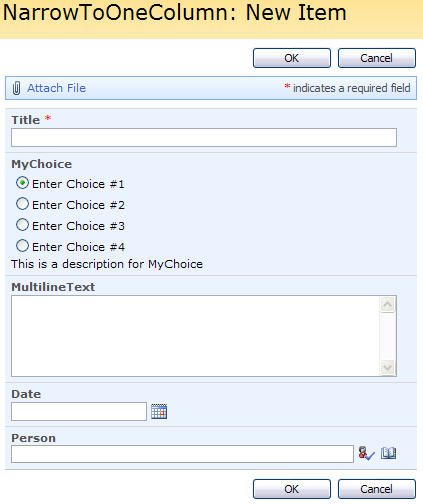
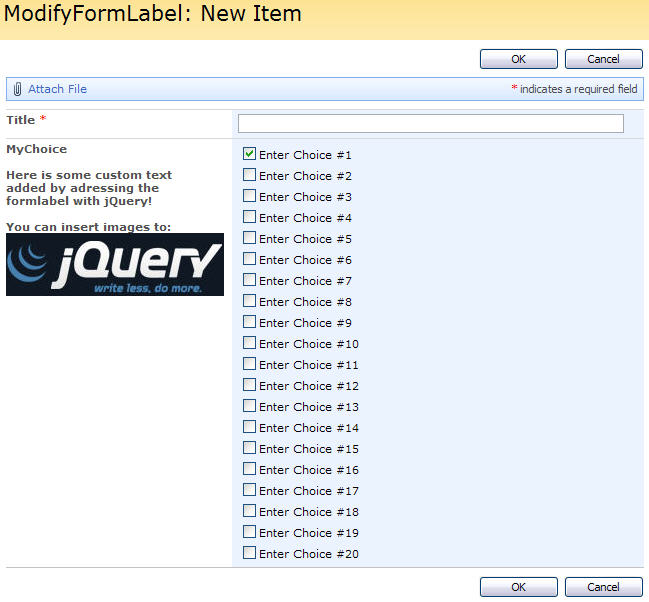
This will result in a DispForm like this:
That’s it!
Regards
Alexander