12.09.2011 A new version is posted here.
30.07.2010 A major update of the script to tidy up the code and to support previewing in a image library. Please read trough the article to get the changes to the CEWP code. The solution is tested in IE 8, Firefox v3.6.8 and in Google Chrome v5.0.375.125.
22.06.2010 Small update in line 118 and 125 to prevent “star” to be appended to lookup columns.
23.03.2010 Updated the code for “Preview_DispForm_metadata.js”. This update fixed compatibility with folders (thanks to Deano for finding the bug). Added support for a mix of lists and document libraries in the same webpart page.
19.02.2010 Fixed a bug if two different document libraries were present in the same webpartpage. The file “Preview_DispForm_metadata.js” is updated. Thanks to Ben for finding the bug.
09.01.2010: Fixed a major performance issue when viewing only selected fields from the metadata. Replace the code for the file “Preview_DispForm_metadata.js” to get the latest fixes.
10.12.2009: Fixed a hard coded “hoverImg” in the code – thanks to Amy.
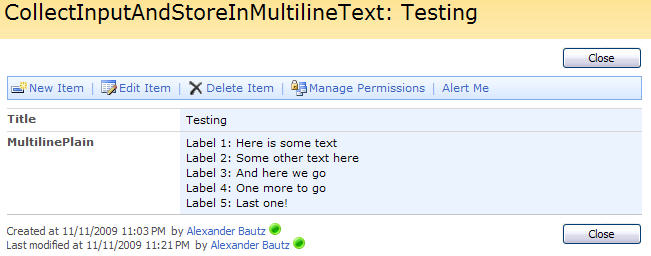
By request from some of my readers i have, with basis in a solution created by Paul Grenier and published on EndUserSharepoint, made a solution that preview’s metadata from a list item or a document on mouse over.
The script i used as basis previewed metadata from DispForm in a CEWP beside a calendar view.
This modification adapts it to present a “floating” pop-up on mouse over when hovering over a table row, a calendar item, or on a small image added before a selected field.
The original script, made by Paul Grenier, previewed the full form from DispForm. I have adapted it so that one can display the full form, or specify an array of columns to display.
This script can be used in plain list view, grouped list views and calendar views.
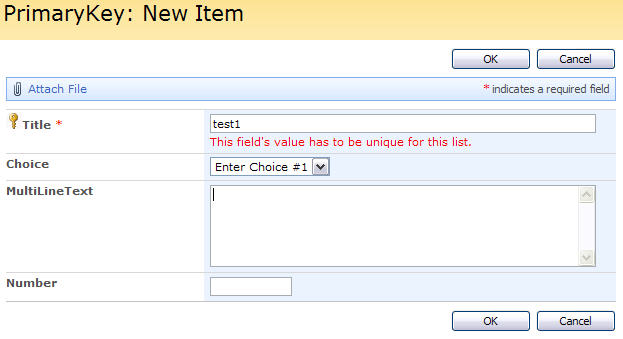
New in this version is that the ID column must be in the view (not true for calendar view). The column can be hidden in the script.
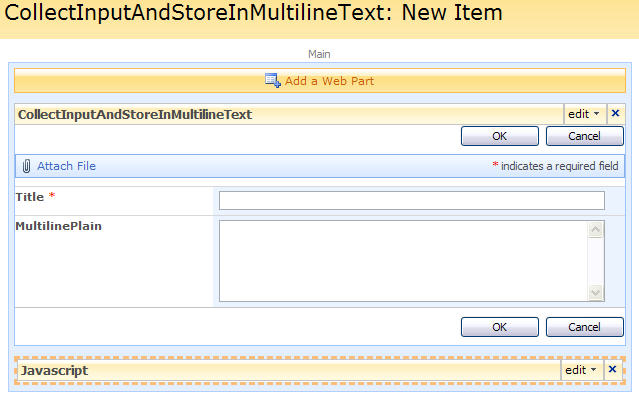
As always we start like this:
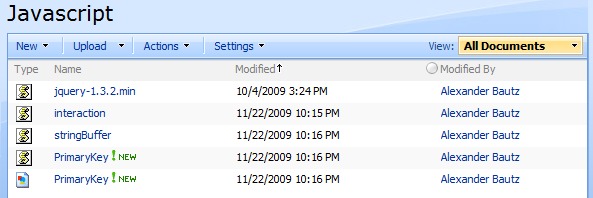
Create a document library to hold your scripts (or a folder on the root created in SharePoint Designer). In this example i have made a document library with a relative URL of “/test/English/Javascript” (a sub site named “test” with a sub site named “English” with a document library named “Javascript”):

The jQuery-library is found here. The pictures and the sourcecode refers to jquery-1.4.2.min. If you download another version, be sure to update the script reference in the sourcecode.
The sourcecode for the file “Preview_DispForm_metadata.js” is found below.
Add a CEWP below the list view and add the code – examples shown below the screen-shots.
Here are some screenshots and the CEWP code:
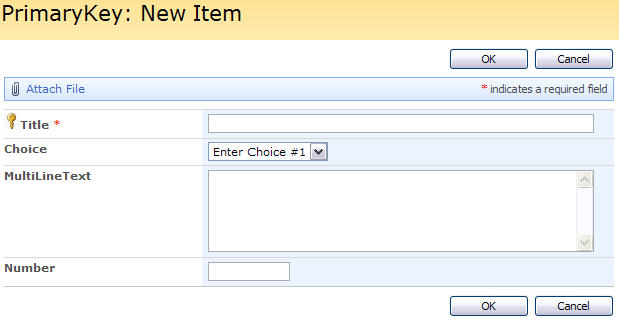
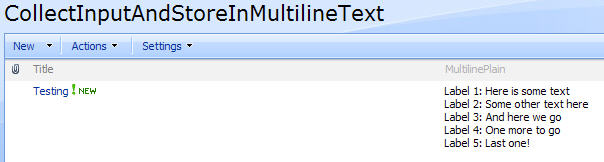
Plain list view – all fields

<script type="text/javascript" src="/test/English/Javascript/jquery-1.4.2.min.js"></script>
<script type="text/javascript" src="/test/English/Javascript/Preview_DispForm_metadata.js"></script>
To hide the ID column, change the CEWP code like this:
<script type="text/javascript" src="/test/English/Javascript/jquery-1.4.2.min.js"></script>
<script type="text/javascript" src="/test/English/Javascript/Preview_DispForm_metadata.js"></script>
<script type="text/javascript">
    hideIdColumn = true;
</script>
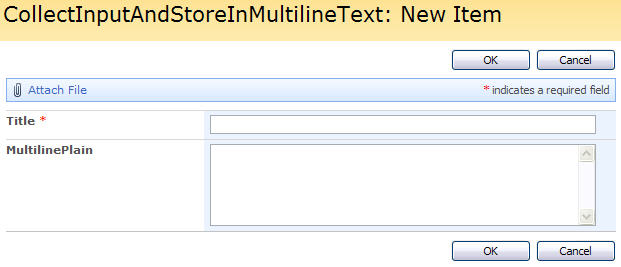
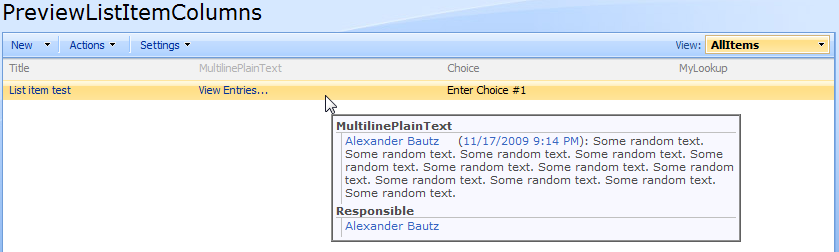
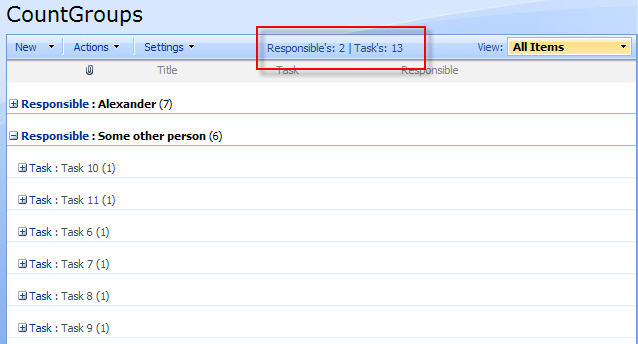
Plain list view – selected fields
<script type="text/javascript" src="/test/English/Javascript/jquery-1.4.2.min.js"></script>
<script type="text/javascript" src="/test/English/Javascript/Preview_DispForm_metadata.js"></script>
<script type="text/javascript">
    hideIdColumn = true;
    arrOfFieldsToShow = ['MultilinePlainText','Responsible'];
</script>
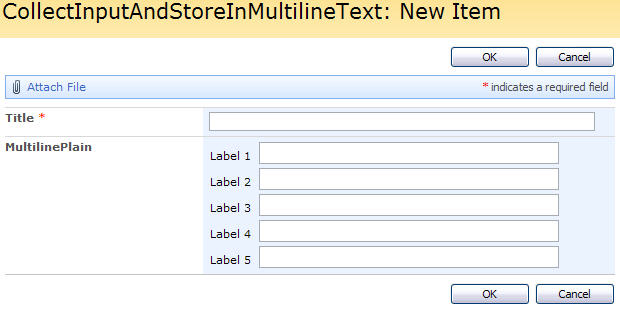
“hoverImg” used

<script type="text/javascript" src="/test/English/Javascript/jquery-1.4.2.min.js"></script>
<script type="text/javascript" src="/test/English/Javascript/Preview_DispForm_metadata.js"></script>
<script type="text/javascript">
    hideIdColumn = true;
    arrOfFieldsToShow = ['MultilinePlainText','Responsible'];
    hoverImg = '/_layouts/images/OPENDB.GIF';
    hoverImgDescription = 'Hover mouse over this image to preview the metadata'; // If left blank, no description is displayed in the pagetitle area
    prependHoverImageTo = 'LinkTitle'
</script>
Parameters explained:
- hideIdColumn: true to hide the ID column. Defaults to false
- arrOfFieldsToShow: Array of fields to show. Defaults to all fields.
To have only a selection of fields, add to the array like this: [‘Title’,’MultilinePlainText,’Responsible’].
To have only the value and not the label showing, add to the array like this: [‘MultilinePlainText|0’]
- hoverImg: If you want to hover over an image and not the whole row, add the “src” to the image here. You must also set the parameter “prependHoverImageTo”.
- prependHoverImageTo: A FieldInternalName to prepend the “hoverImg” to.
- hoverImgDescription: A description that will be added to the page title area.
All parameters are optional.
Sourcecode for “Preview_DispForm_metadata.js” is found here
Note:
When new versions are released, they will be placed in a folder with the version number as label. Be sure to download the latest version.
If you are using a browser other than IE, right click the file and select “Save link as” or “Save linked content as…”.
Ask if something is unclear.
Regards
Alexander
Like this:
Like Loading...
 . Right click on the image and select “Save picture as”.