01.03.2010 Added another method of building headings here: Headings for SharePoint forms – another method
Modified 10.10.2009: Small update for compatibility with the script Narrowing list form to one column.
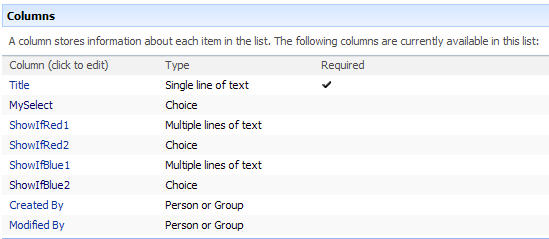
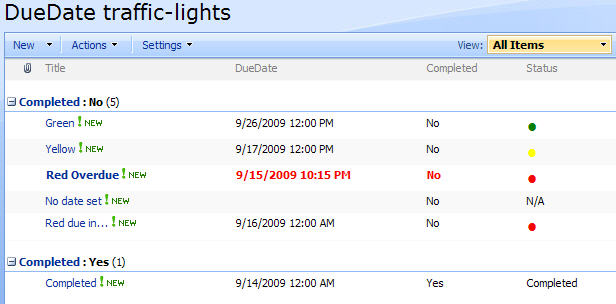
This script adds heading-support to a custom SharePoint List by using a “prefix” in the field name of a standard “Single line of text” field, and a script to search all column names and reformat it as a heading in NewForm, DispForm and EditForm.
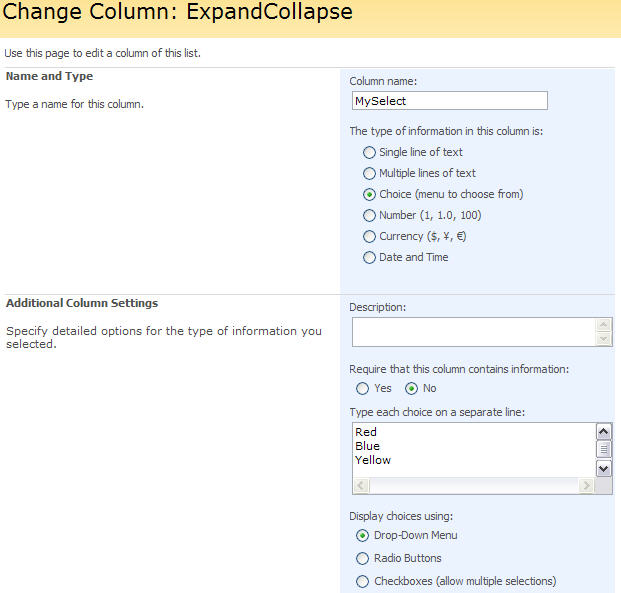
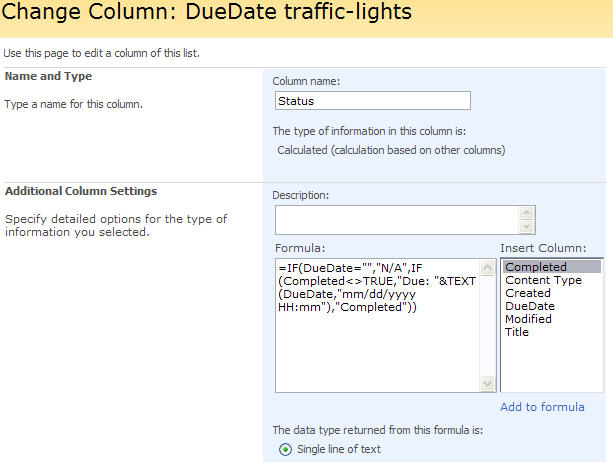
Create the “headings” by adding a column of type “Single line of text” to your list – and prefix your heading with #H# in the column name like this #H#ThisIsMyHeading. You specify the font size in pixes like this #H#17#ThisIsMyHeading, and you can add a custom color to the heading by adding a hex-color code like this #H#17#FF0000#ThisIsMyHeading.
You can also add a background color to your heading as a parameter in your script call like this:
// Specify color like this
showHeadings(190,true,false,true,'#ebf3ff');
// Or inherit like this:
showHeadings(190,true,false,true,$('.ms-formbody').css('background-color'));
As always we start like this:
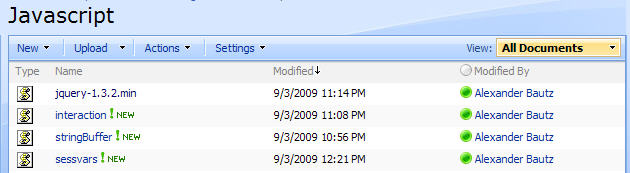
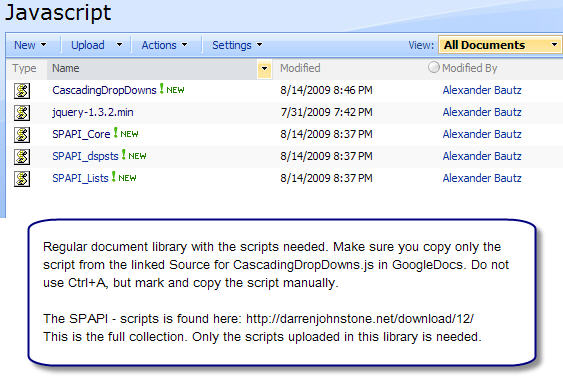
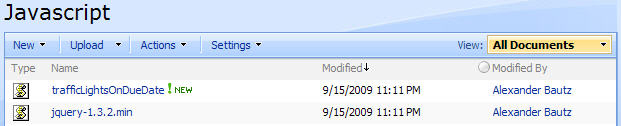
Create a document library to hold your scripts (or a folder on the root created in SharePoint Designer). In this example i have made a document library with a relative URL of “/test/English/Javascript” (a subsite named “test” with a subsite named “English” with a document library named “Javascript”):
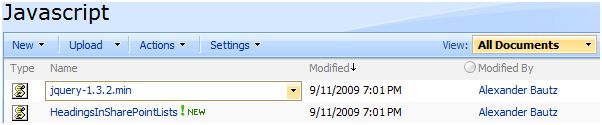
The script “HeadingsInSharePointLists.js” has this sourcecode:
/* Headings from "Single line of text"
* ---------------------------------------------
* Created by Alexander Bautz
* alexander.bautz@gmail.com
* https://spjsblog.com
* LastMod: 10.10.2009
* ---------------------------------------------
Example: Create a field of type "Single line of text" like this:
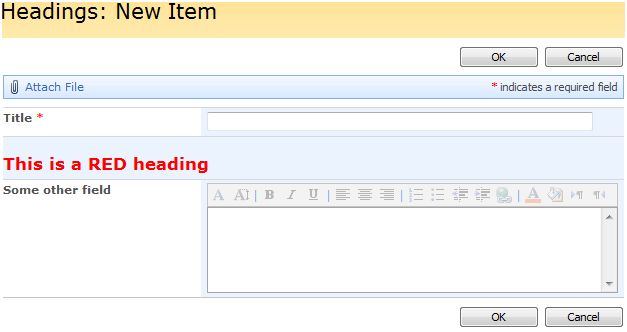
#H#17#FF0000#This is a RED heading
#H# - Defines heading
17 - Font size
#FF0000# - [optional] color
If used without specifying the color it looks like this:
#H#17#This is a heading
Call like this in NewForm.aspx, DispForm.aspx or EditForm.aspx:
<script type="text/javascript" src="/test/English/Javascript/jquery-1.3.2.min.js"></script>
<script type="text/javascript" src="/test/English/Javascript/HeadingsInSharePointLists.js"></script>
<script type="text/javascript">
showHeadings(190,true,false,true,'#ebf3ff');
</script>
Parameters explained:
divWidth: The width of the "label" colomn - where the fieldname is found. This script removes the nobr-tag from the label
to prevent long field names to distort the column width.
paddingTop: Adds a br-tag above the heading to make some air
paddingBottom: Adds a br-tag below the heading to make some air
stretch: Adds "colspan:2" to make the heading stretch to the full width of the list form
bgColor: Background - [optional] background color of the td-tag. You can "copy" the color from
another style to make the background adapt to changing site themes by using this as the
parameter bgColor (no quotes - it's not a string):
$('.ms-formbody').css('background-color')
Note: To use with the script "Narrowing list form to one column", you must set the parameter "stretch" to false.
You must also call this script before the "Narrowing list form to one column-script".
*/
function showHeadings(divWidth,paddingTop,paddingBottom,stretch,bgColor){
if(divWidth==undefined || divWidth=='')divWidth=190;
$("td.ms-formlabel").each(function(){
$(this).children().children('nobr').replaceWith('<div>' + $(this).children().children('nobr').html() + '</div>'); // Removes nobr-tag from label
$(this).attr('width',divWidth); // Width of all "td.ms-formlabel"
if($(this).text().match('#H#')){ // It's a heading
var customDiv = $("<div></div>");
if($(this).find('div').text()!=''){
rawHeading = $(this).find('div').text()
}else{
rawHeading = $(this).text();
}
hSize = rawHeading.substring(3,5); // Find size
customDiv.css({'fontSize':hSize}); // Set size
if(rawHeading.substring(5,12).match(new RegExp(/^#?([a-f]|[A-F]|[0-9]){3}(([a-f]|[A-F]|[0-9]){3})?$/))){ // Find color
customDiv.css({'color':rawHeading.substring(5,12)}); // Set color
}
if(stretch){ // Removes the "ms-formbody-td" and sets colspan=2 to stretch the heading
$(this).next().hide();
$(this).attr('width','');
$(this).attr({colSpan:'2'});
}
if(typeof(bgColor)!="undefined" && bgColor != ''){
$(this).css({'background-color':bgColor});
if(!stretch){
$(this).next().css({'background-color':bgColor});
}
}
$(this).html(customDiv.text(rawHeading.substring(rawHeading.lastIndexOf('#')+1))); // Set new heading
if(paddingTop)$(this).prepend('<br>');if(paddingBottom)$(this).append('<br>'); // Padding
// Hide input
if(!window.location.href.substring(0,window.location.href.indexOf('?')).match('DispForm.aspx')){
$(this).next('td').children('span:eq(0)').hide();
// Preserve borders if stretch = false
newSpan = $("<span> </span>");
$(this).next('td').append(newSpan);
}
}
});
}
Save this as a text file and rename to “HeadingsInSharePointLists.js”, then upload to the library as shown above.
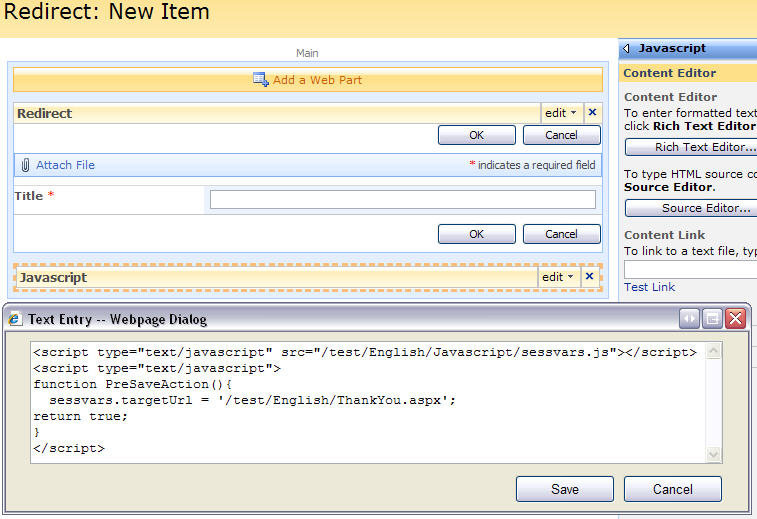
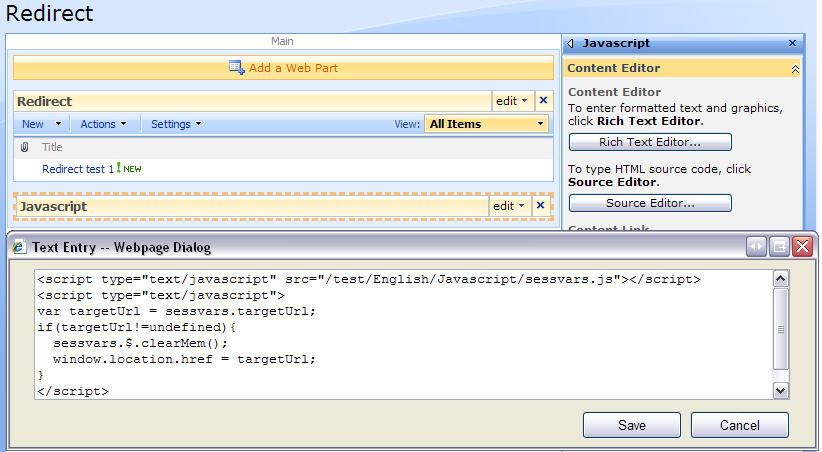
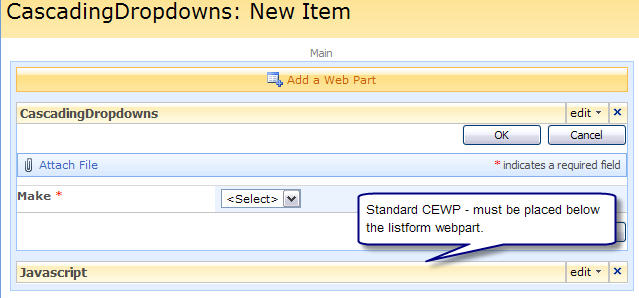
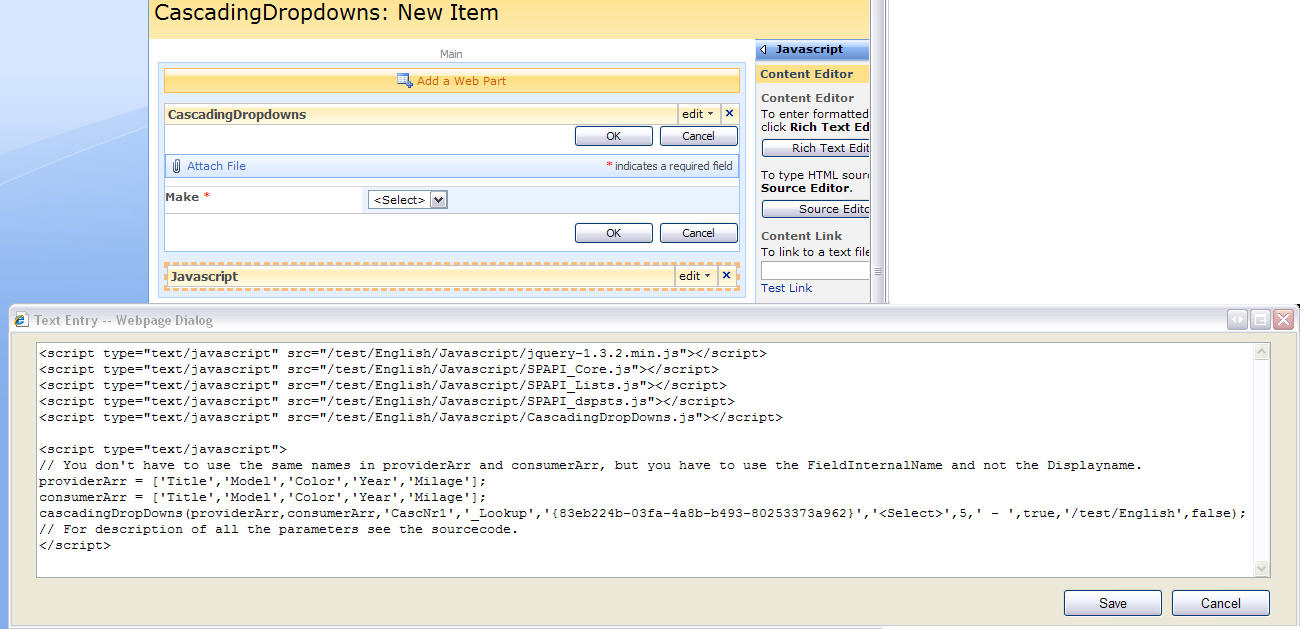
Then you add a CEWP below the list form in NewForm, DispForm and EditForm with this sourceCode:
<script type="text/javascript" src="/test/English/Javascript/jquery-1.3.2.min.js"></script>
<script type="text/javascript" src="/test/English/Javascript/HeadingsInSharePointLists.js"></script>
<script type="text/javascript">
// To inherit the bgColor of the ms-formBody use this
showHeadings(190,true,false,true,$('.ms-formbody').css('background-color'));
// To specify the bgColor do it like this in stead
// showHeadings(190,true,false,true,'#ebf3ff');
</script>
Parameters explained:
- divWidth: The width of the “label” colomn – where the fieldname is found. This script removes the nobr-tag from the label to prevent long field names to distort the column width.
- paddingTop: Adds a br-tag above the heading
- paddingBottom: Adds a br-tag below the heading
- stretch: Adds “colspan:2” to make the heading stretch to the full width of the list form
- bgColor: [optional] background color of the td-tag
You can “copy” the color from another style to make the background adapt to changing site themes by specifying the parameter bgColor like this:
showHeadings(190,true,false,true,$('.ms-formbody').css('background-color'));
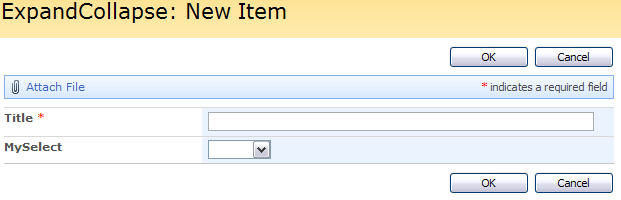
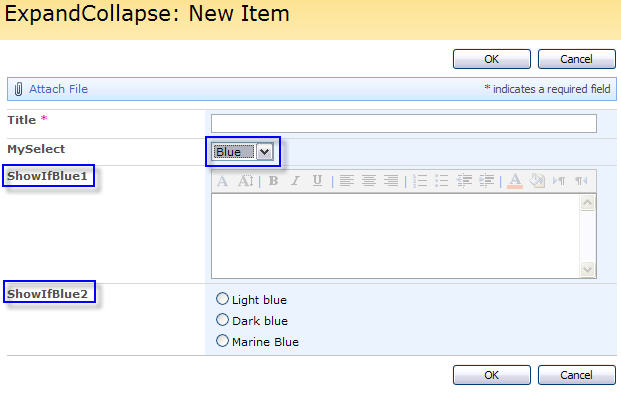
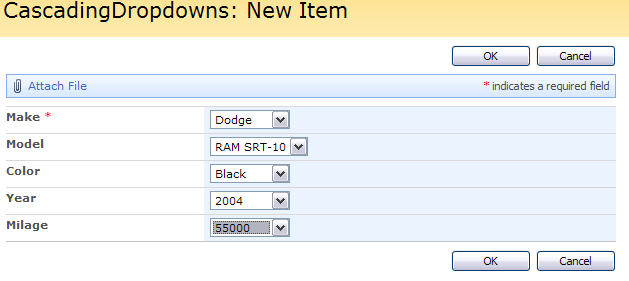
The end result should look like this:
Regards
Alexander
A follow-up on this article describing how to add heading-support to a list view is found here.