Change log:
September 10, 2017:
Please note: I had a typo in this list name of the list where the dashboards are stored. If you have already created this list with the wrong name, please rename the list (changing the display name is sufficient) from “SPJSChartDasboards” to “SPJSChartDashboards” and update the code.
I’ve updated the code example for the “DashboardSelectorAndBuilder.html” file to include support for changing the colspan, and to let you edit an existing dashboard. Please note that to enable edit I had to make one adjustment to the “OPTIONAL – Add a header as text or HTML here”. This means you must enter this header again the first time you edit a chart with this new version, but when you have saved it once you will be able to edit it again.
I have also added support for restricting the “Add new” and “Edit” to a SharePoint group. Add the group display name in the variable “restrictAddNewAndEditToThisGroup” in the top of the file “DashboardSelectorAndBuilder.html”.
In the previous article in this “series” I showed how you can create your own dashboards by manually writing the HTML code and store it in a custom list.
This proved to be a bit to complicated and I have now created a dashboard builder where you can specify a layout from one to four columns and as many rows as you like (please note that adding multiple charts to one page will make the page slower to load).
To use this tool, you must have the SPJS Charts solution already installed, and you must have set up the custom list as described in the previous article – linked in the top of this article.
Create a web part page and add the main SPJS Charts v6 loader web part to the page like described here. Then get the file “DashboardSelectorAndBuilder.zip” from here, and add it to a script editor web part (unzip first) in the same web part page.
Alternatively you can store this code (after you unzip it) in a document library and link to the file in a ContentEditorWebPart (CEWP).
Your page should then look like this:
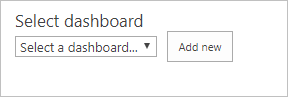
Click “Add new” to name your new dashboard and select the number of columns:

Then add the charts from the collection of charts you have already created in this site:

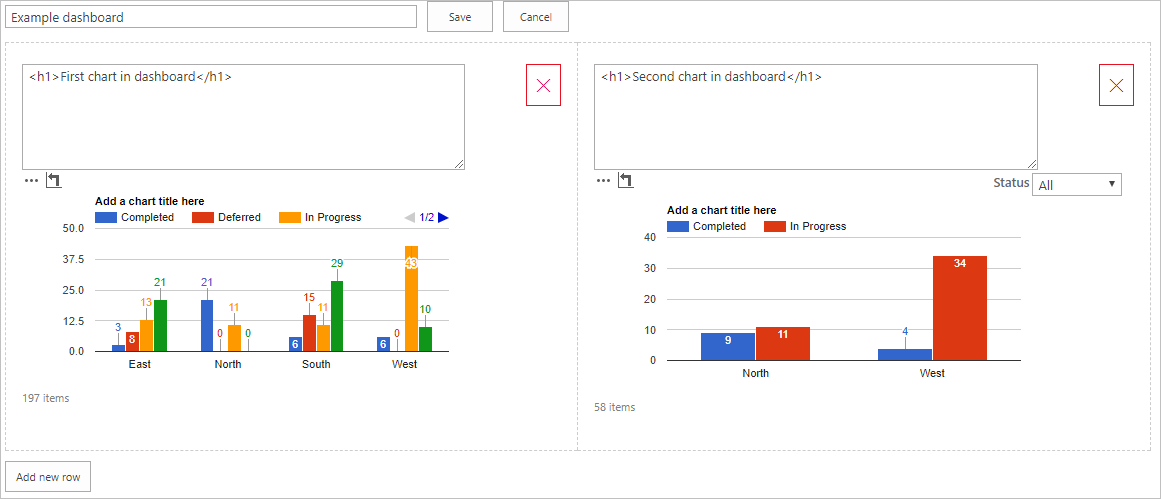
Build your dashboard by adding charts and optionally inserting a header text / HTML:
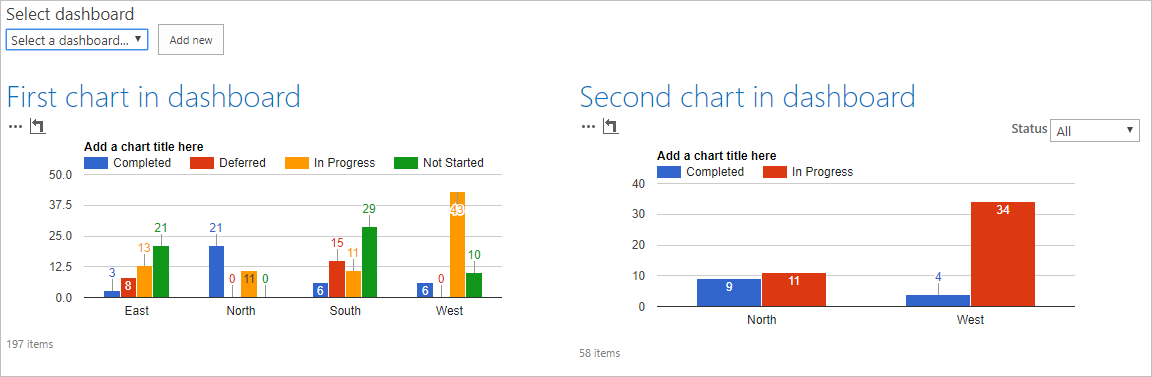
Hit “Save” and reload the page. Select your new dash from the dropdown:
Let me know in the comments or in the forum if you have any questions.
Alexander